Ultimate Setup & Placement Guide
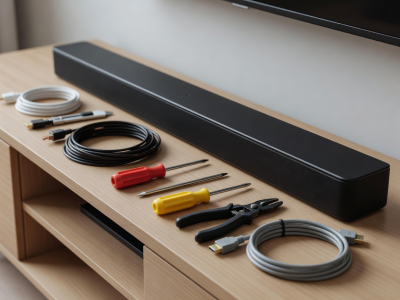
Acquiring a high-quality soundbar is only half the battle. Acoustic physics dictates that the physical placement of speakers in a room, and how they interface with their source devices, dramatically influences the final auditory result. A poorly placed premium system will consistently underperform a meticulously positioned budget system.
Physical Placement Principles
The positioning of the main soundbar unit relative to your television and seating position is paramount.
- Console Placement: If placing the unit on a media console beneath the TV, bring the soundbar flush with the front edge of the furniture. Pushing the bar back towards the wall causes sound waves to reflect off the console's surface before reaching your ears, creating acoustic interference and muddying dialogue clarity.
- Wall Mounting: When mounting below a television, ensure there is at least 4 to 6 inches of clearance between the top of the soundbar and the bottom of the TV screen. This is especially critical if the unit features upward-firing height channels, which require an unobstructed path to the ceiling.
- Ear Level Alignment: High-frequency sounds (treble) are highly directional. Ideally, the tweeters within the soundbar should sit as close to seated ear-level as possible.
Subwoofer Positioning Strategy
While low-frequency audio is generally omnidirectional—meaning you cannot easily pinpoint its source—placement still matters due to room resonance. Placing a subwoofer tightly in a corner will artificially amplify the bass (the "corner loading" effect), often making it sound "boomy" or overwhelming. For a tighter, more accurate bass response, position the subwoofer along the front wall, approximately one-third of the way into the room's width.
Optimizing Connectivity
The cable you choose dictates the audio formats you can experience. Always default to HDMI connectivity over Optical cables if your hardware supports it.
Connect your primary HDMI cable from the port labeled HDMI OUT (ARC/eARC) on the soundbar to the port labeled HDMI IN (ARC/eARC) on the television. Once connected, navigate to your television's audio settings menu. You must typically change the audio output from "Internal Speakers" to "HDMI ARC" or "External Audio System." Additionally, look for a digital audio format setting and change it from "PCM" to "Passthrough" or "Bitstream"—this ensures the TV sends the raw audio data to the soundbar for proper decoding.
Room Calibration (The Final Polish)
Many modern systems include a room calibration feature, sometimes referred to as Auto-EQ, SpaceFit, or RoomPlay. This process uses microphones (either built into the soundbar, the remote, or a smartphone) to play test tones and measure how sound reflects in your specific room.
During this calibration phase, ensure the room is completely silent. Turn off air conditioning units, close windows, and sit in your primary viewing position if the system instructs you to hold the microphone. The software will analyze frequency drops and spikes caused by your furniture and wall geometry, applying a customized equalization curve to flatten the response and provide the most accurate soundstage possible for your unique environment.